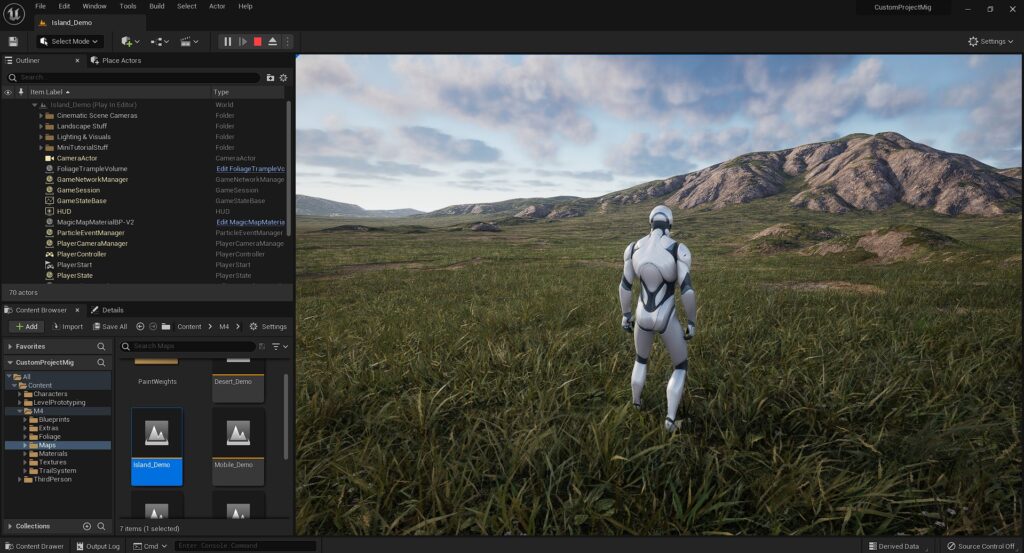
Migrating from the default M4 project to your own custom project takes a little bit of setup before hand so that everything (the Terrain Generator, Virtual Heightfield Mesh, RVT, etc.) can be used fully in your custom game.
Follow the steps below to Migrate M4 to a custom project in Unreal Engine 5, with everything set up and ready to go.
Enabling Plugins and Project Settings
Step 1:
Let’s first set up our project that we’re wanting to Migrate M4 to.
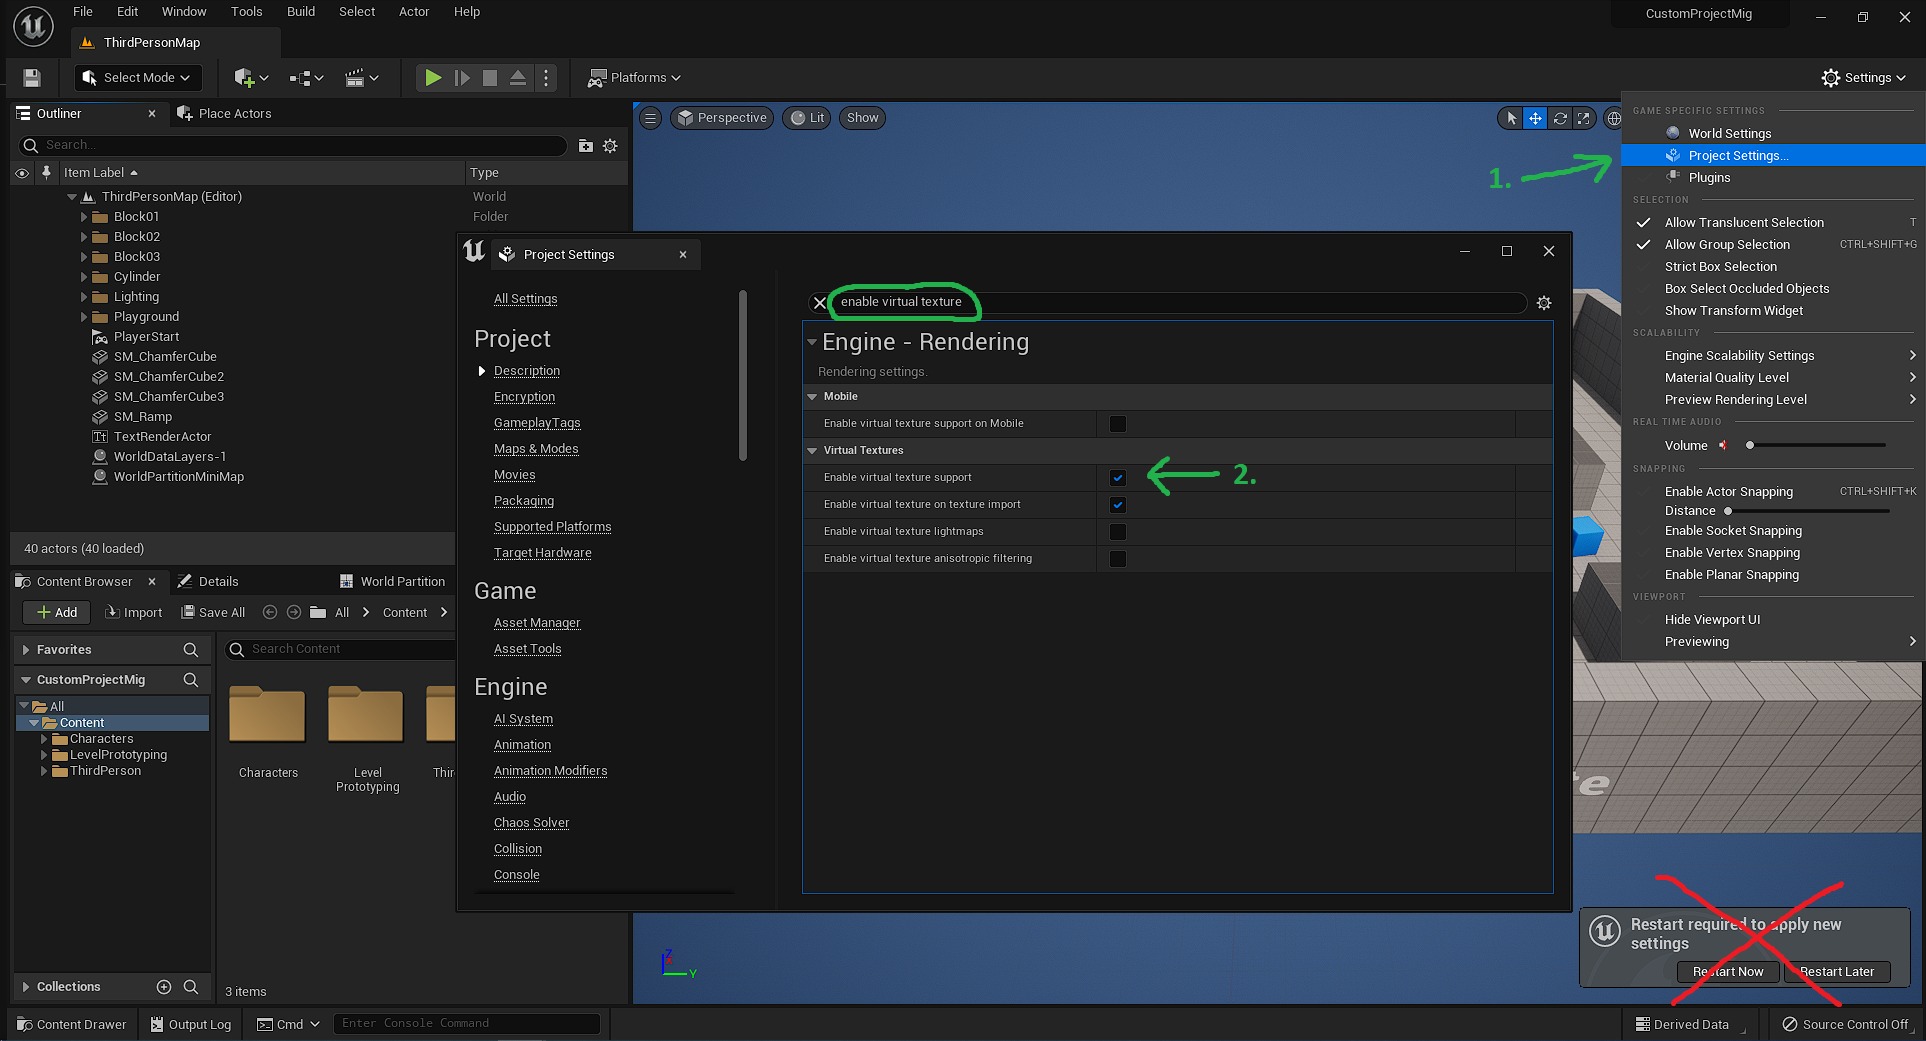
In your custom project, go up to Settings at the top of the Editor and click “Project Settings“.
In the window that pops up, type in “Enable virtual texture support“, toggle this on.
Don’t restart your editor just yet if it tells you to, we’re going to enable a couple of other things first.
Step 2:
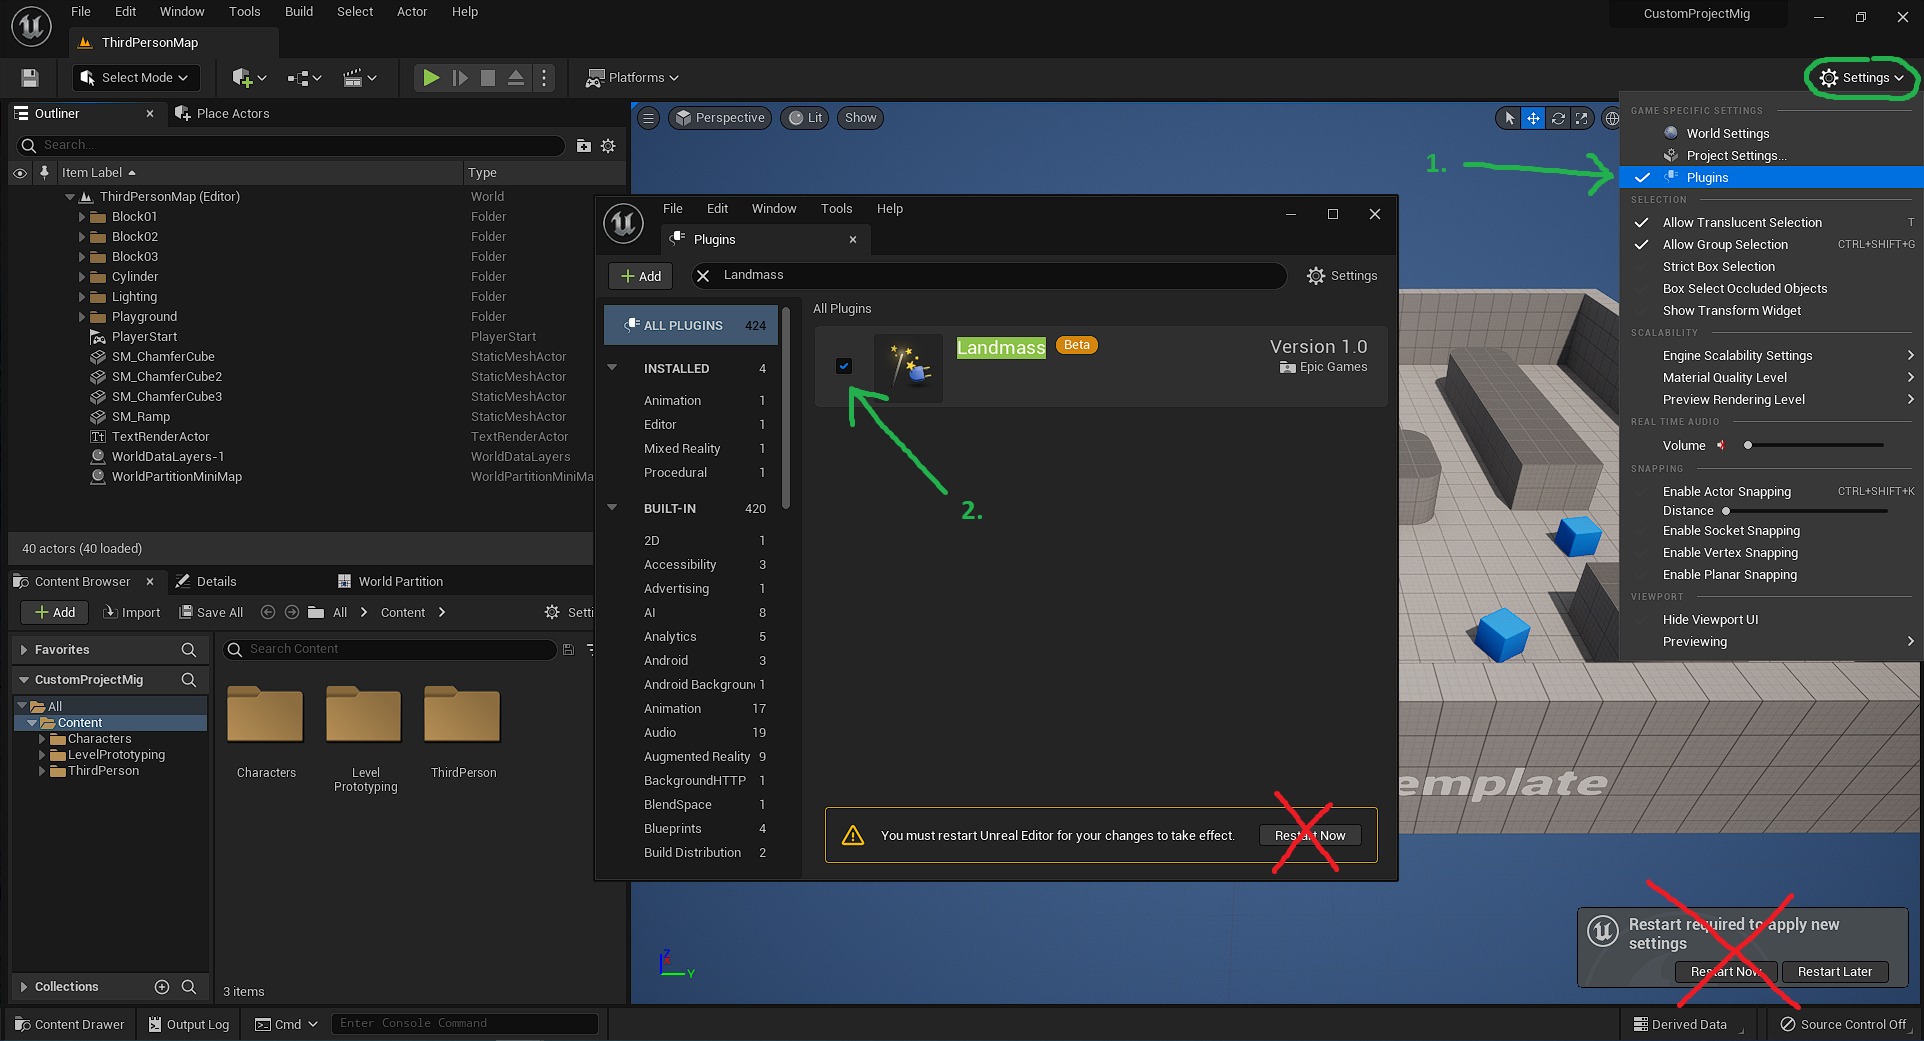
Now go up to Settings again and press Plugins. This time, the Plugins window will pop up.
Type “Landmass” into the window and enable the Landmass Plugin.
Still don’t restart just yet, one more setting left.
Step 3:
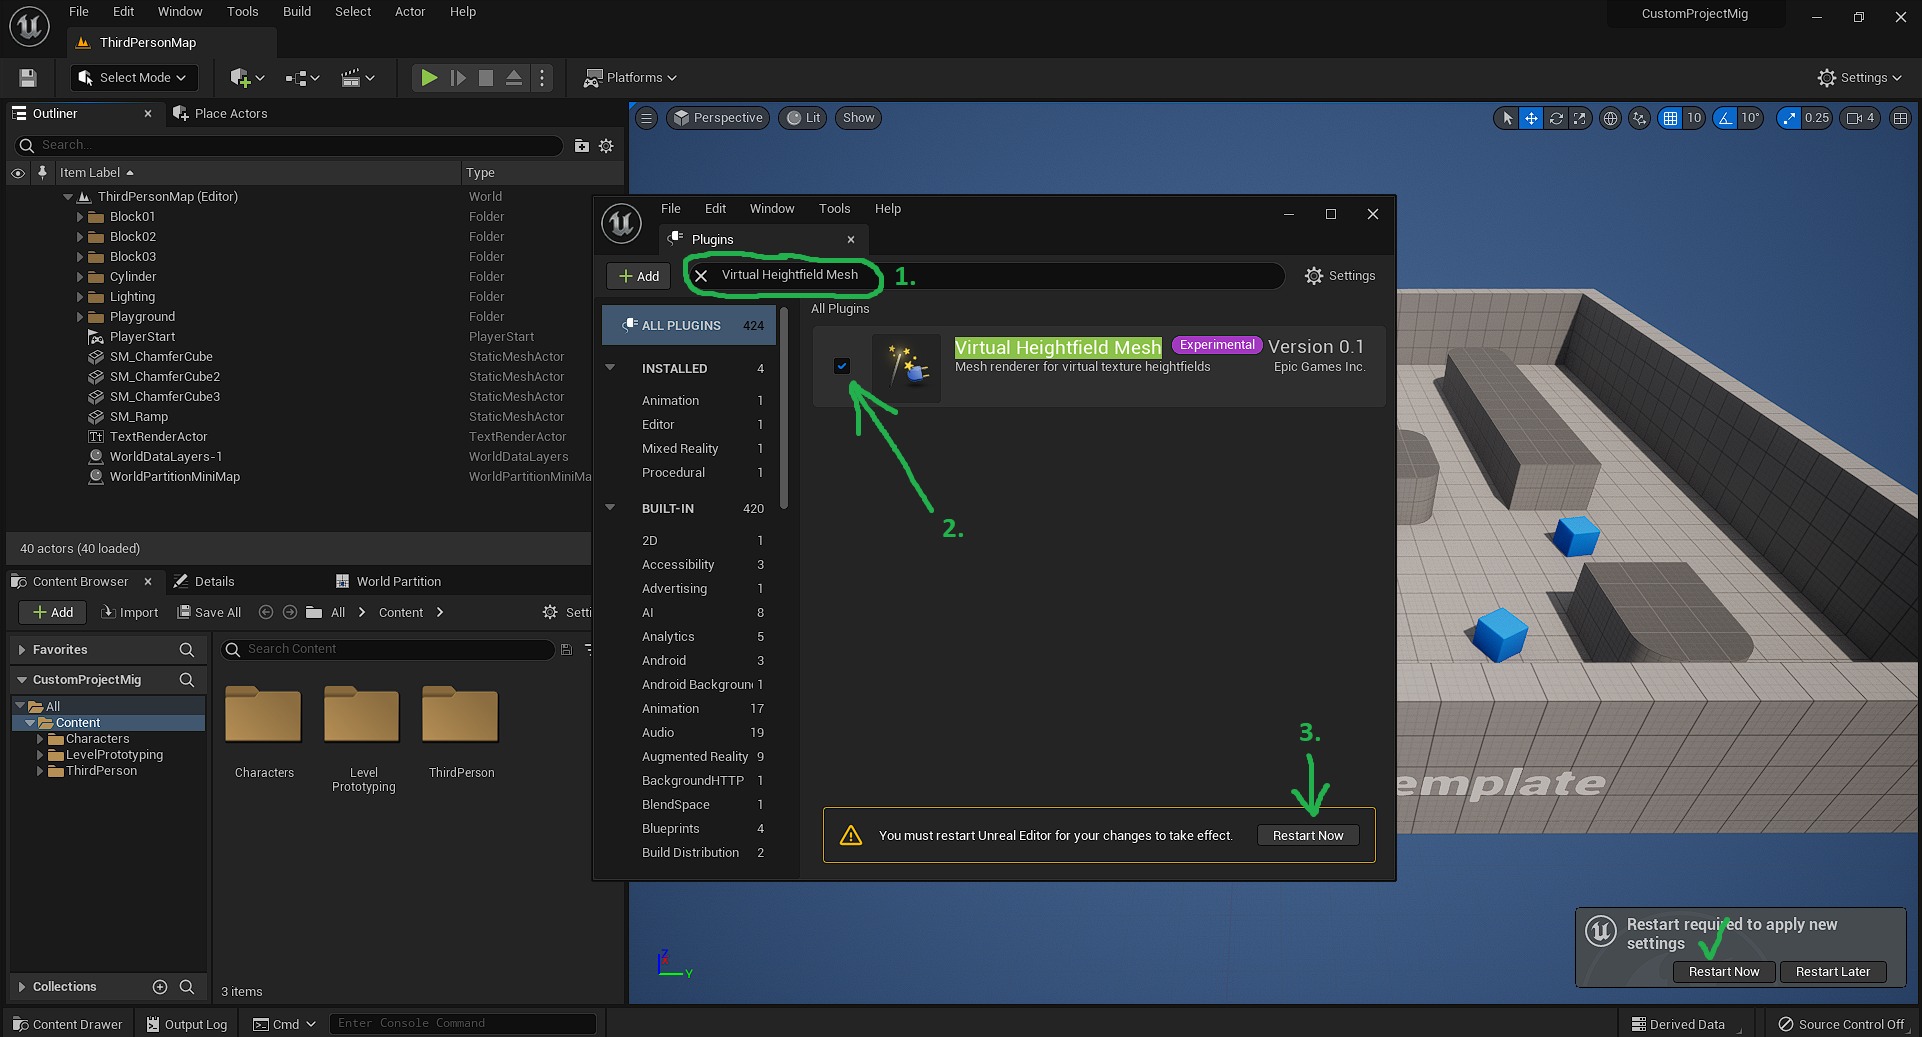
In the same Plugins window, now type in “Virtual Heightfield Mesh“, let’s enable this too.
After that, restart the Editor by pressing the button in the lower right hand corner.
Migrating M4 to Your Custom Project
Step 4:
In the M4 project downloaded from the Marketplace, right-click the M4 folder and press Migrate.
A window will pop up, just press “OK” in there.

Step 5:
Next it will ask us to choose a Content folder to Migrate M4 to.
Choose the Content folder of the custom project, which you’re wanting to Migrate M4 to.

We’re now ready to fully use M4 in our custom project