The M4 Automaterial has multiple layers in order to achieve the way it looks. These layers are called Flatland A, Flatland B, Foothills, Cliff, Beach, and Wet Beach.
Below we’ll go more into what and where each of these layers are at, on our map.
Flatland A
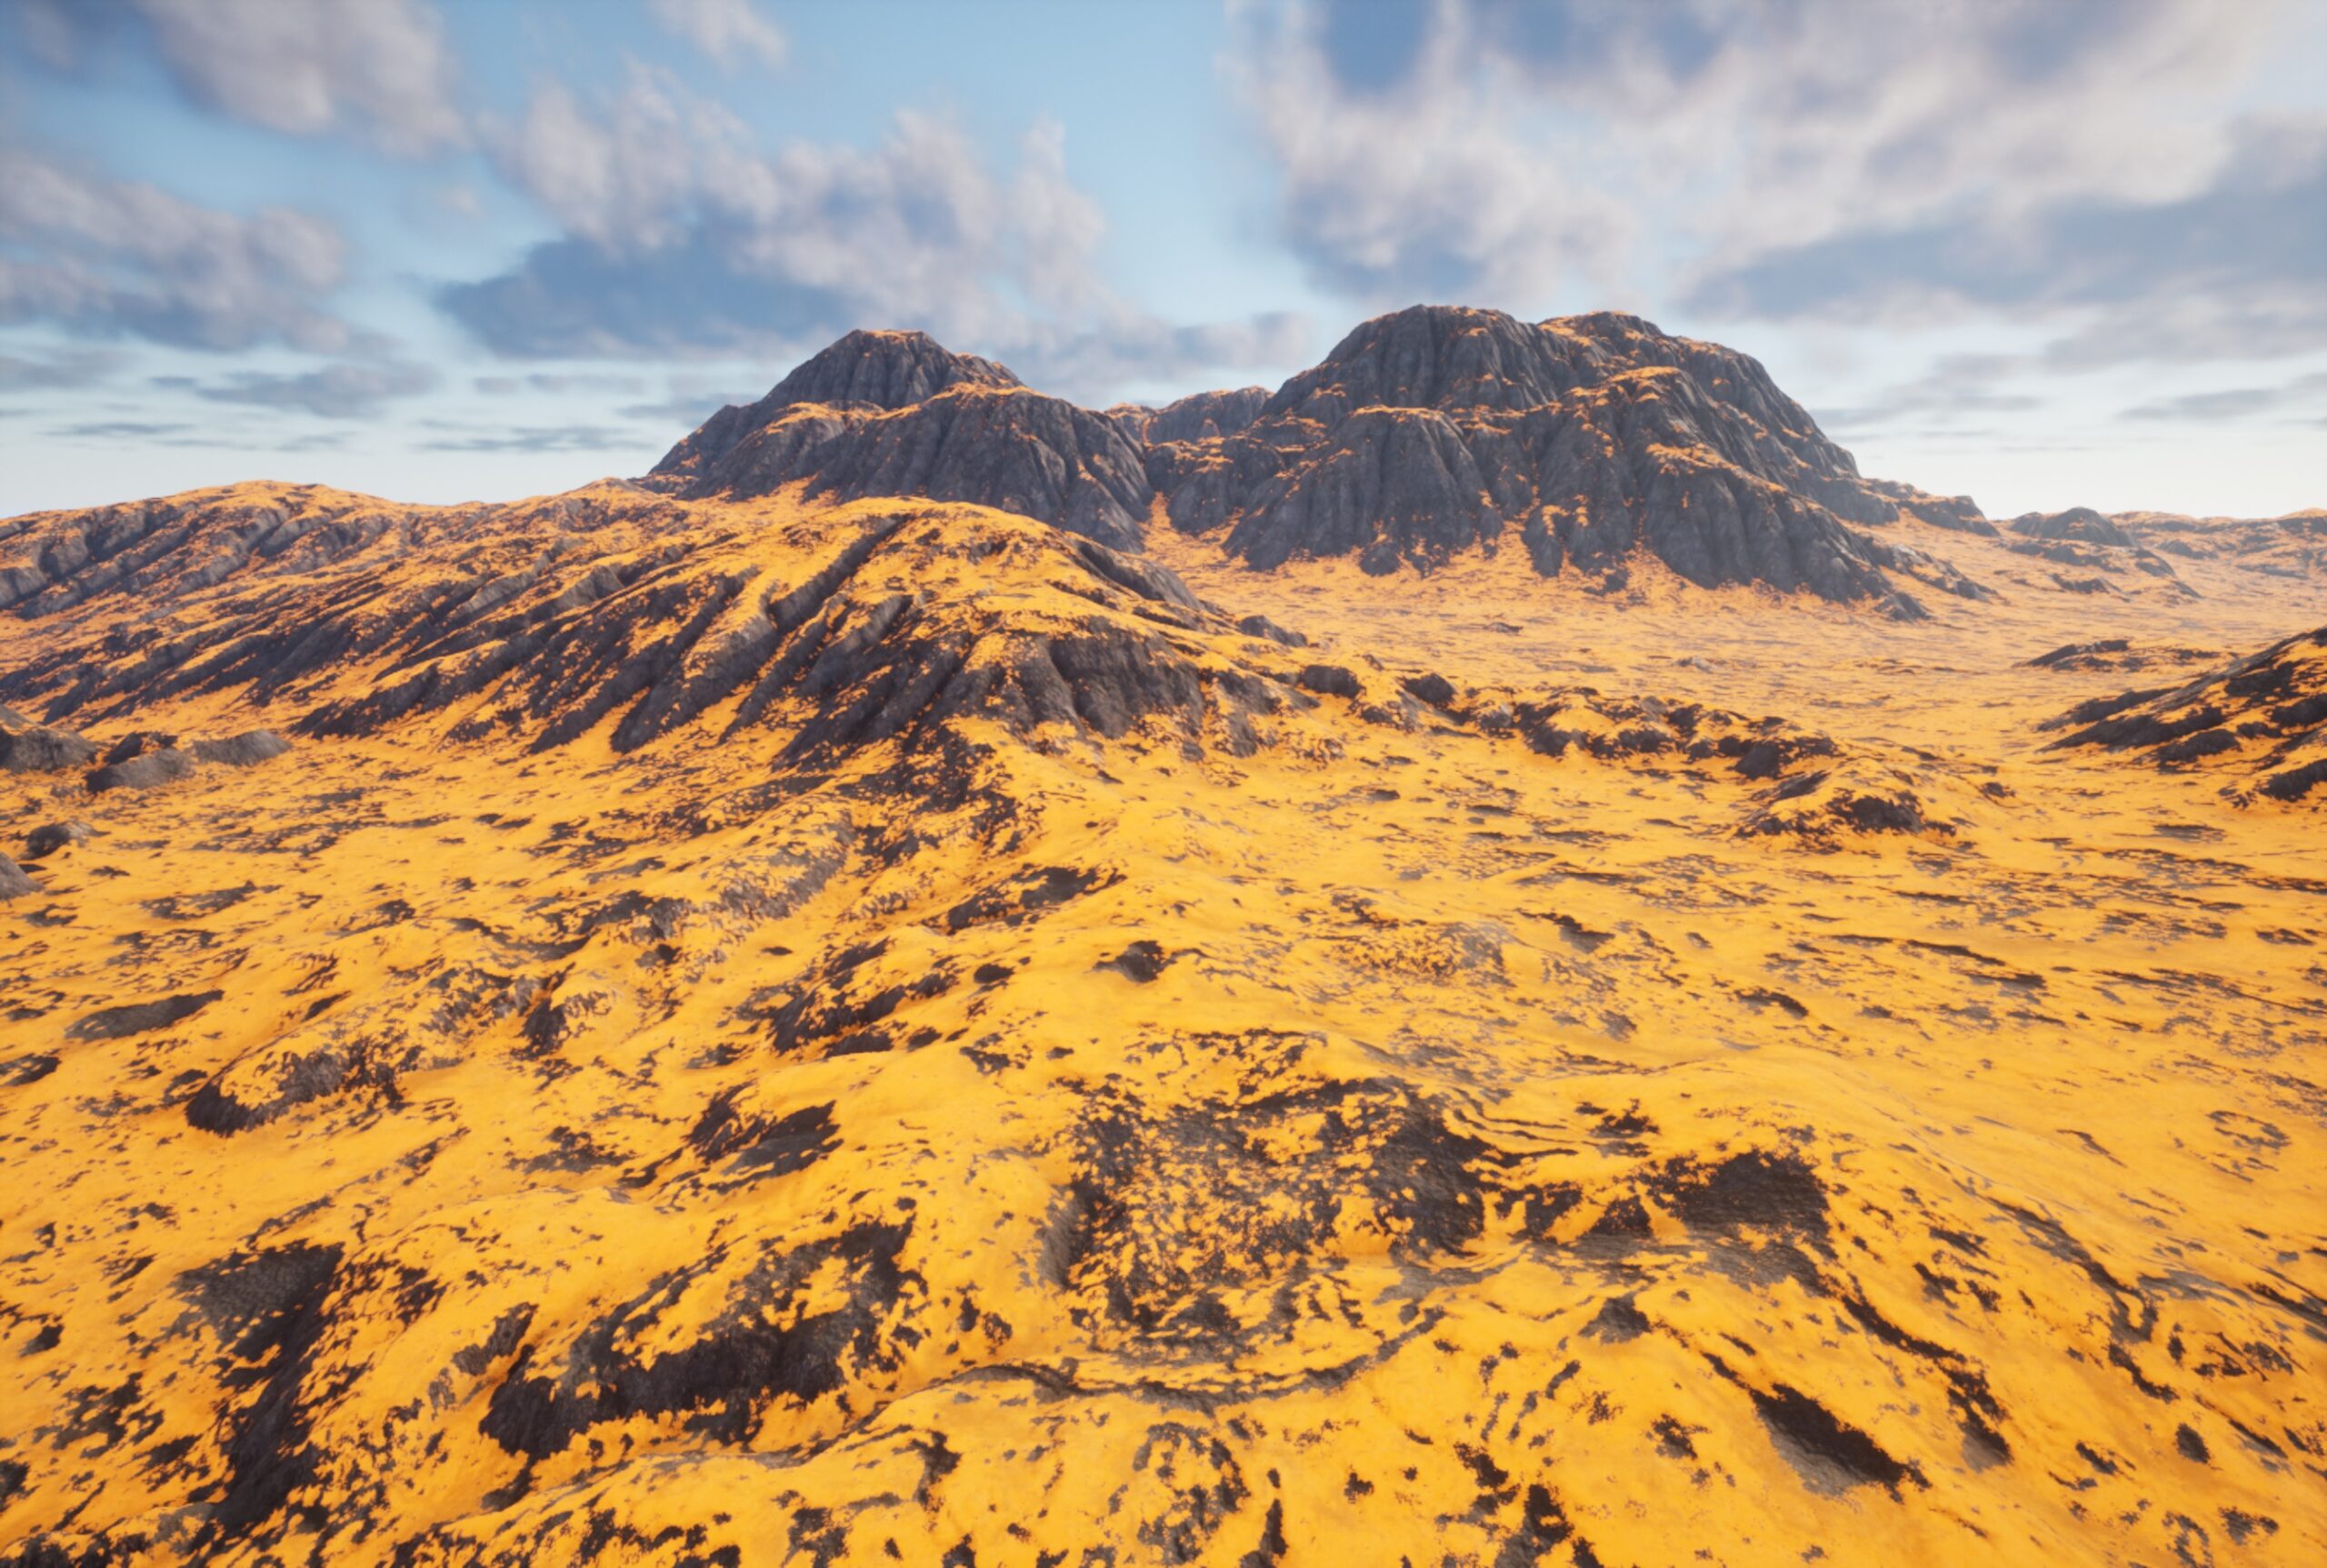
This layer is the main layer of the flat areas that we see on our map’s texturing. Shown in yellow/orange to the right.
On the Island_Demo map this would be the grass texturing that we see everywhere. On the Desert_Demo map this would be the sand texturing.
This and every other layer can be anything we wish it to be by swapping out textures, spawning different foliage, etc.
Flatland B
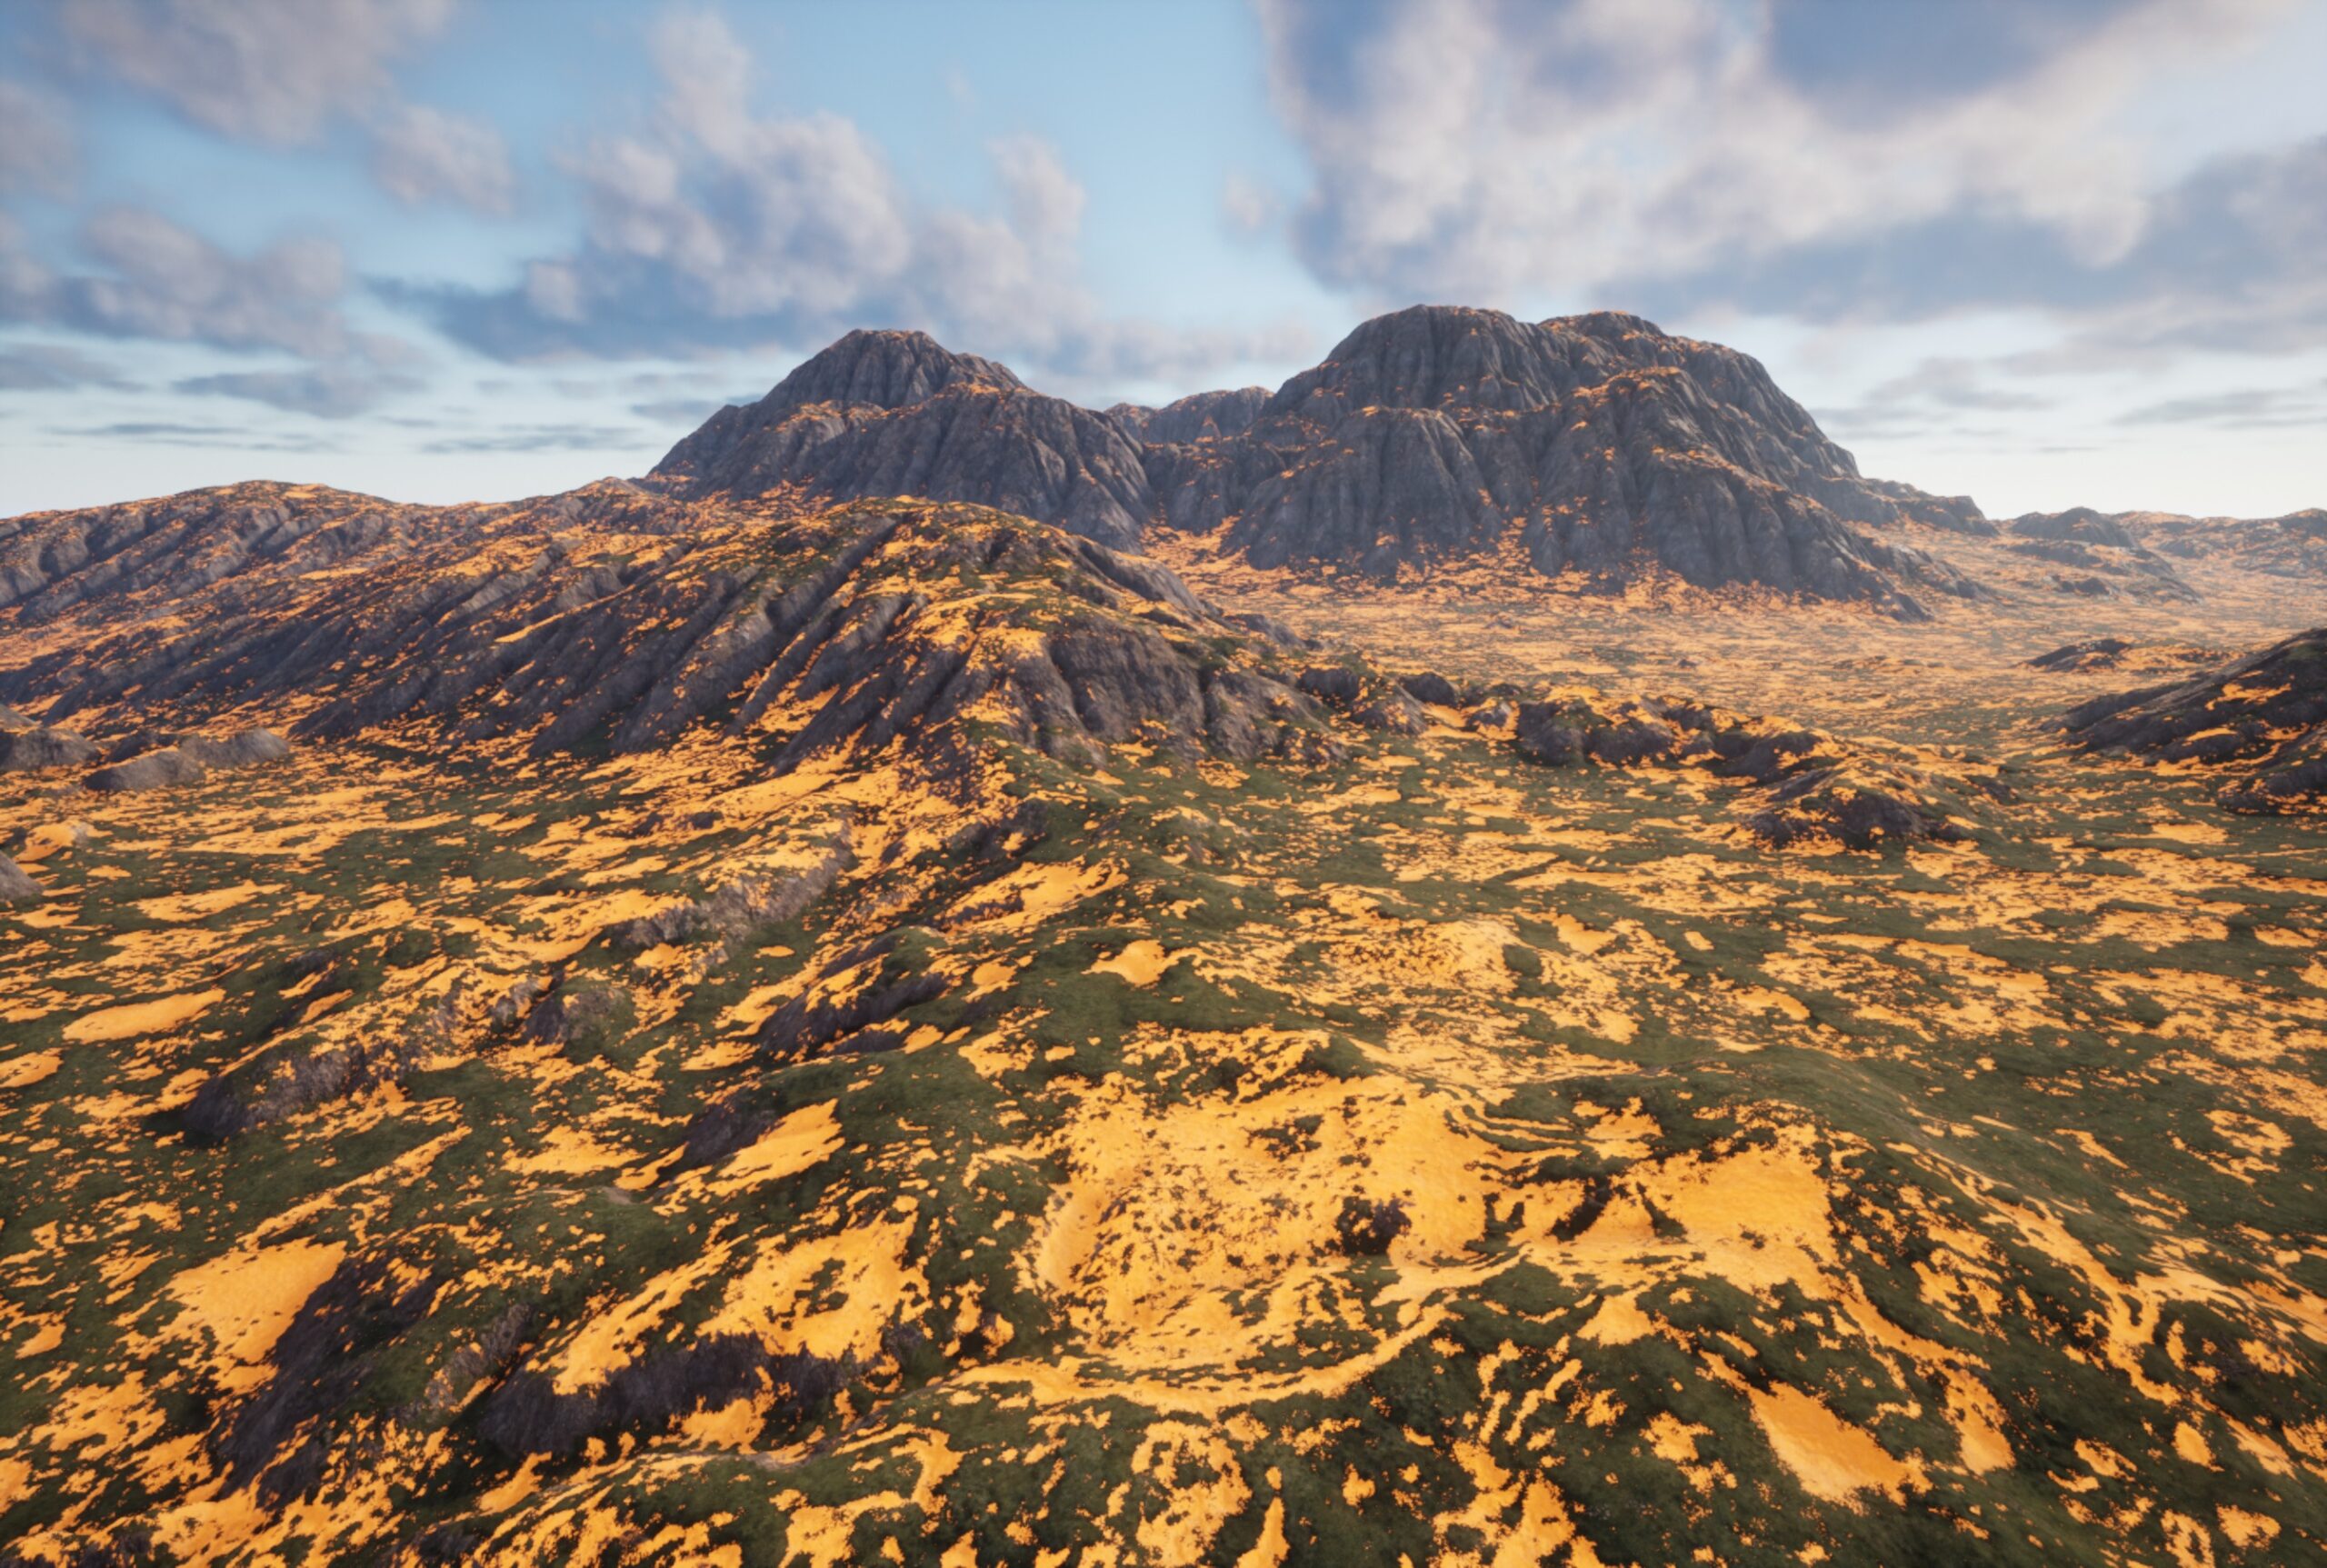
This layer is the second layer of the flat areas that we see on our map’s texturing.
On the Island_Demo map this would be the dirt texturing that we see everywhere. On the Desert_Demo map this would also be the dirt texturing.

Foothills
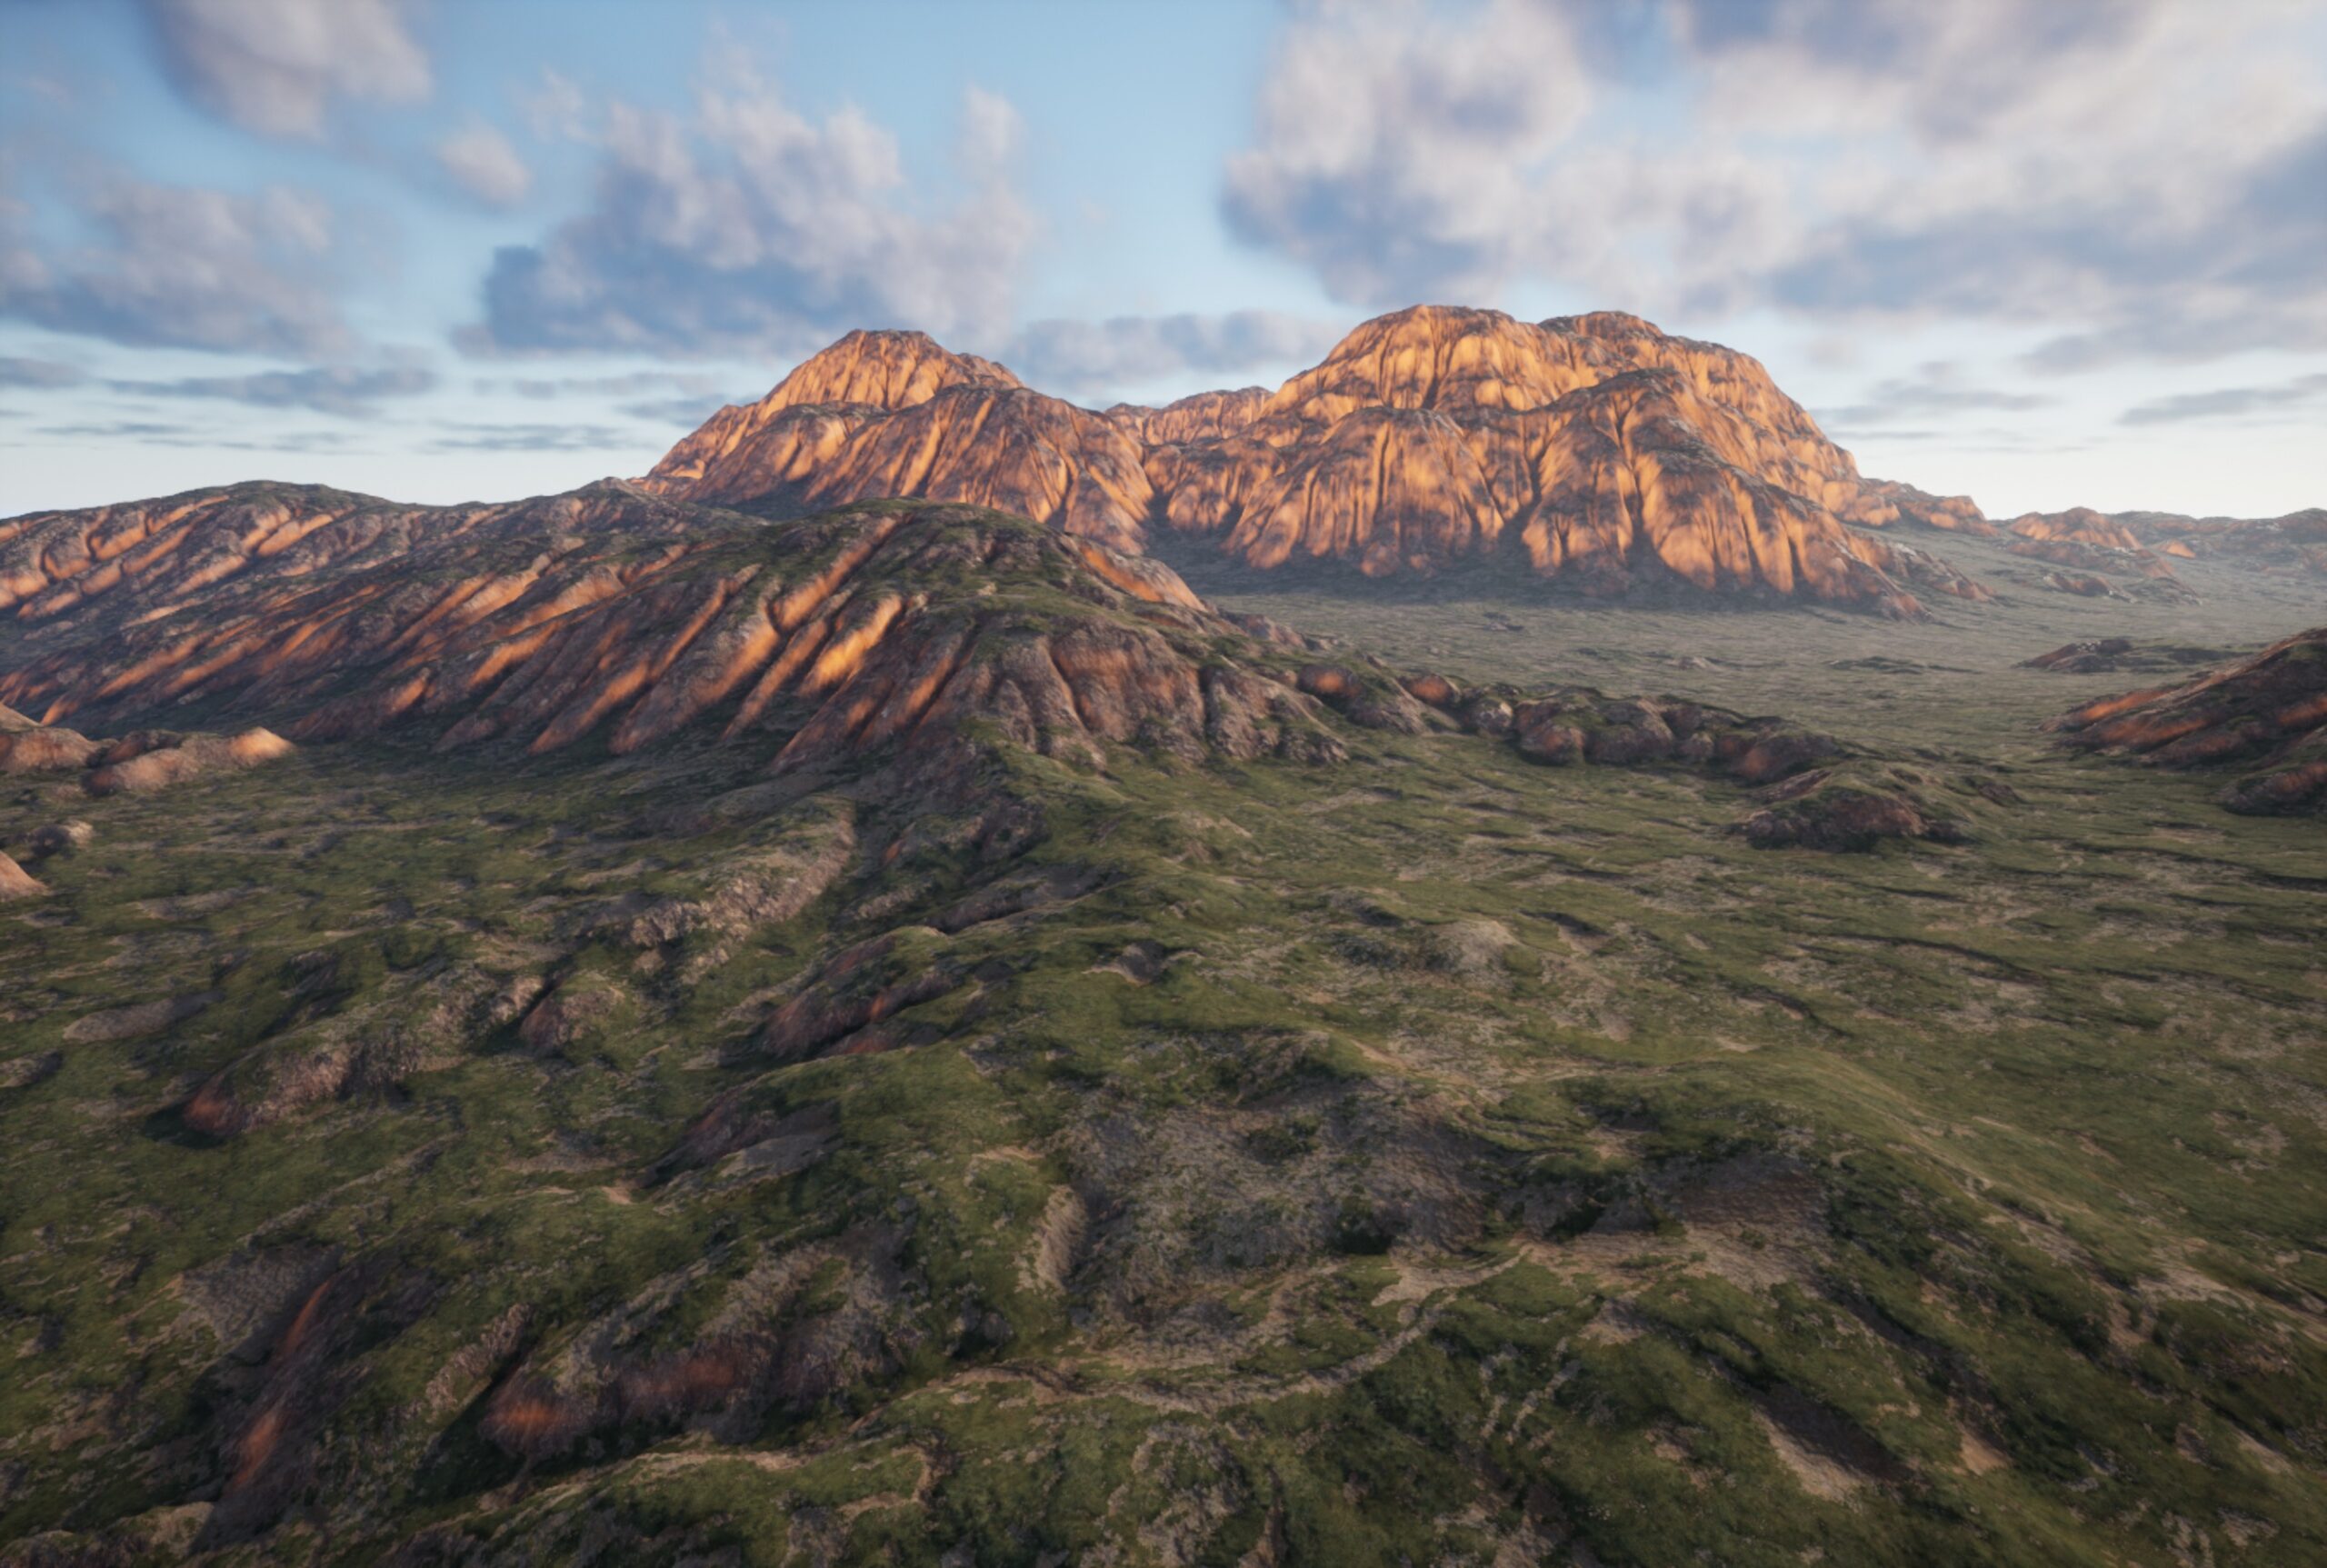
This layer is the area between the steep cliffs and the flatlands.
On the Island_Demo map this would be the rocky texturing that we see where the slopes first begin.
Cliffs
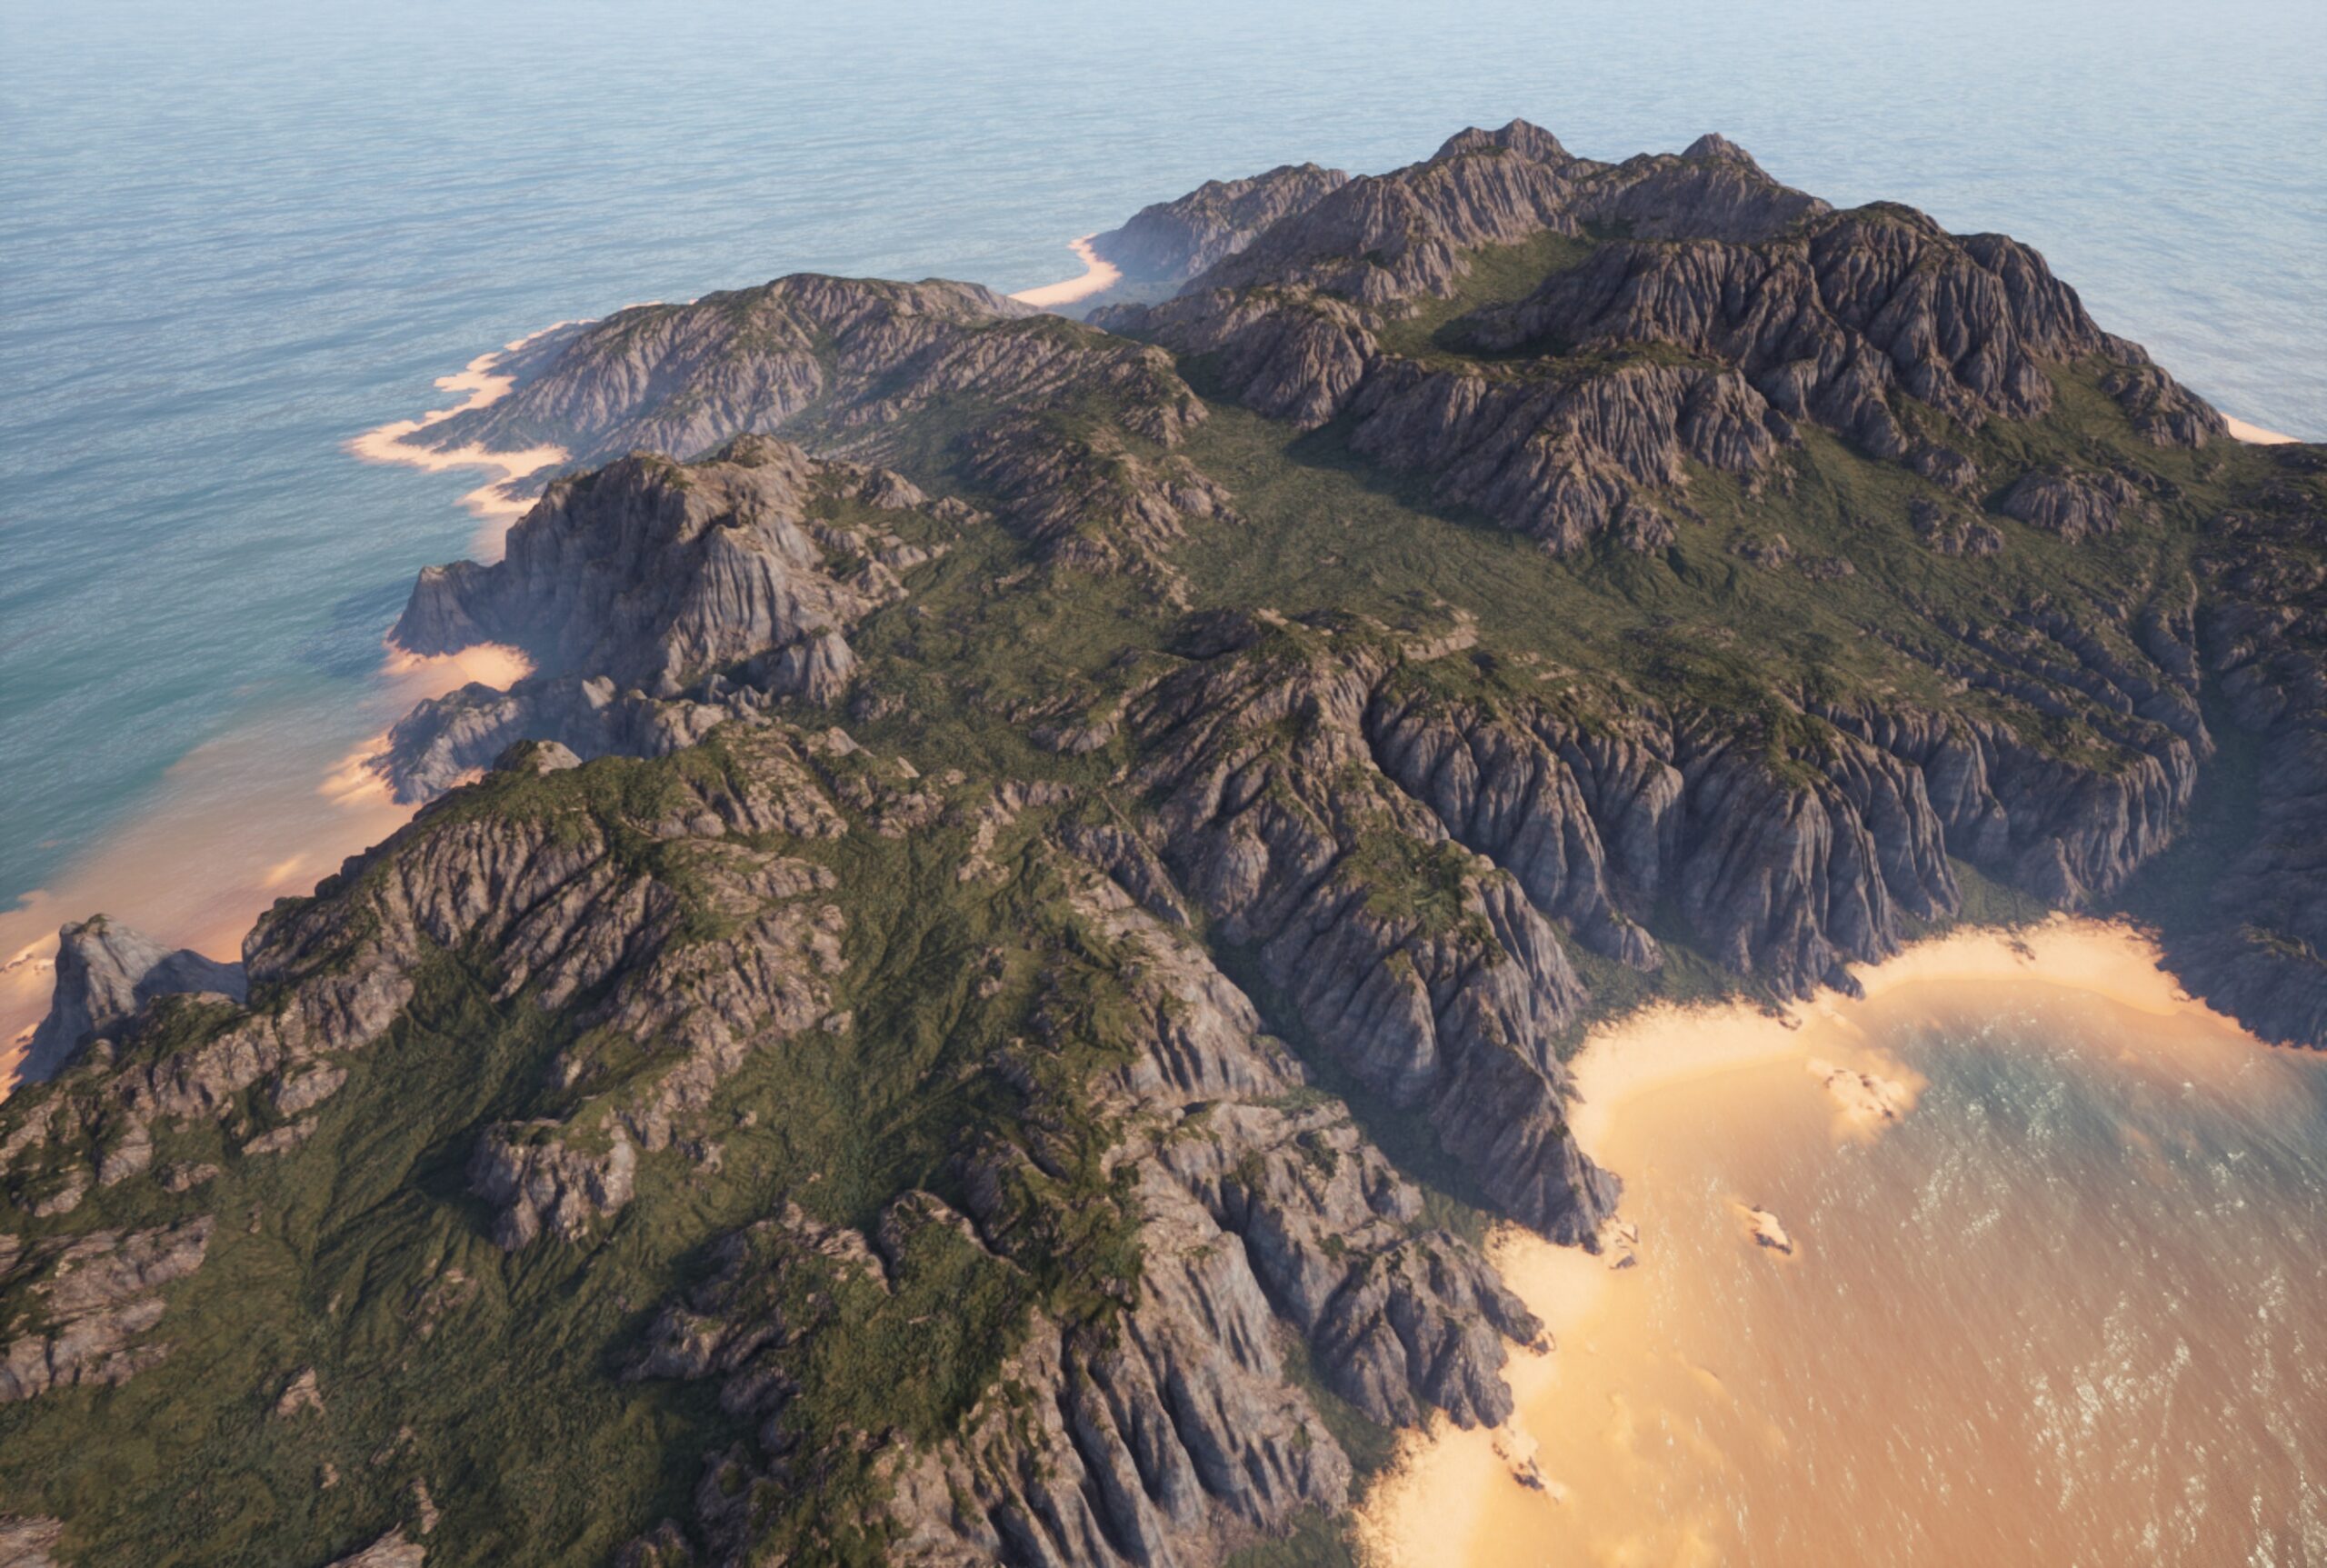
This layer is the area that is the steepest part of our slopes.
Beach
This is the dry beach that’s near the shore.
This layer can be adjusted on the z-axis, since this is a height based effect for our landscape. See this doc for info on how to adjust its height.
Typically we would only want to use beaches on maps with water, so there’s also a toggle to turn off the beaches altogether.
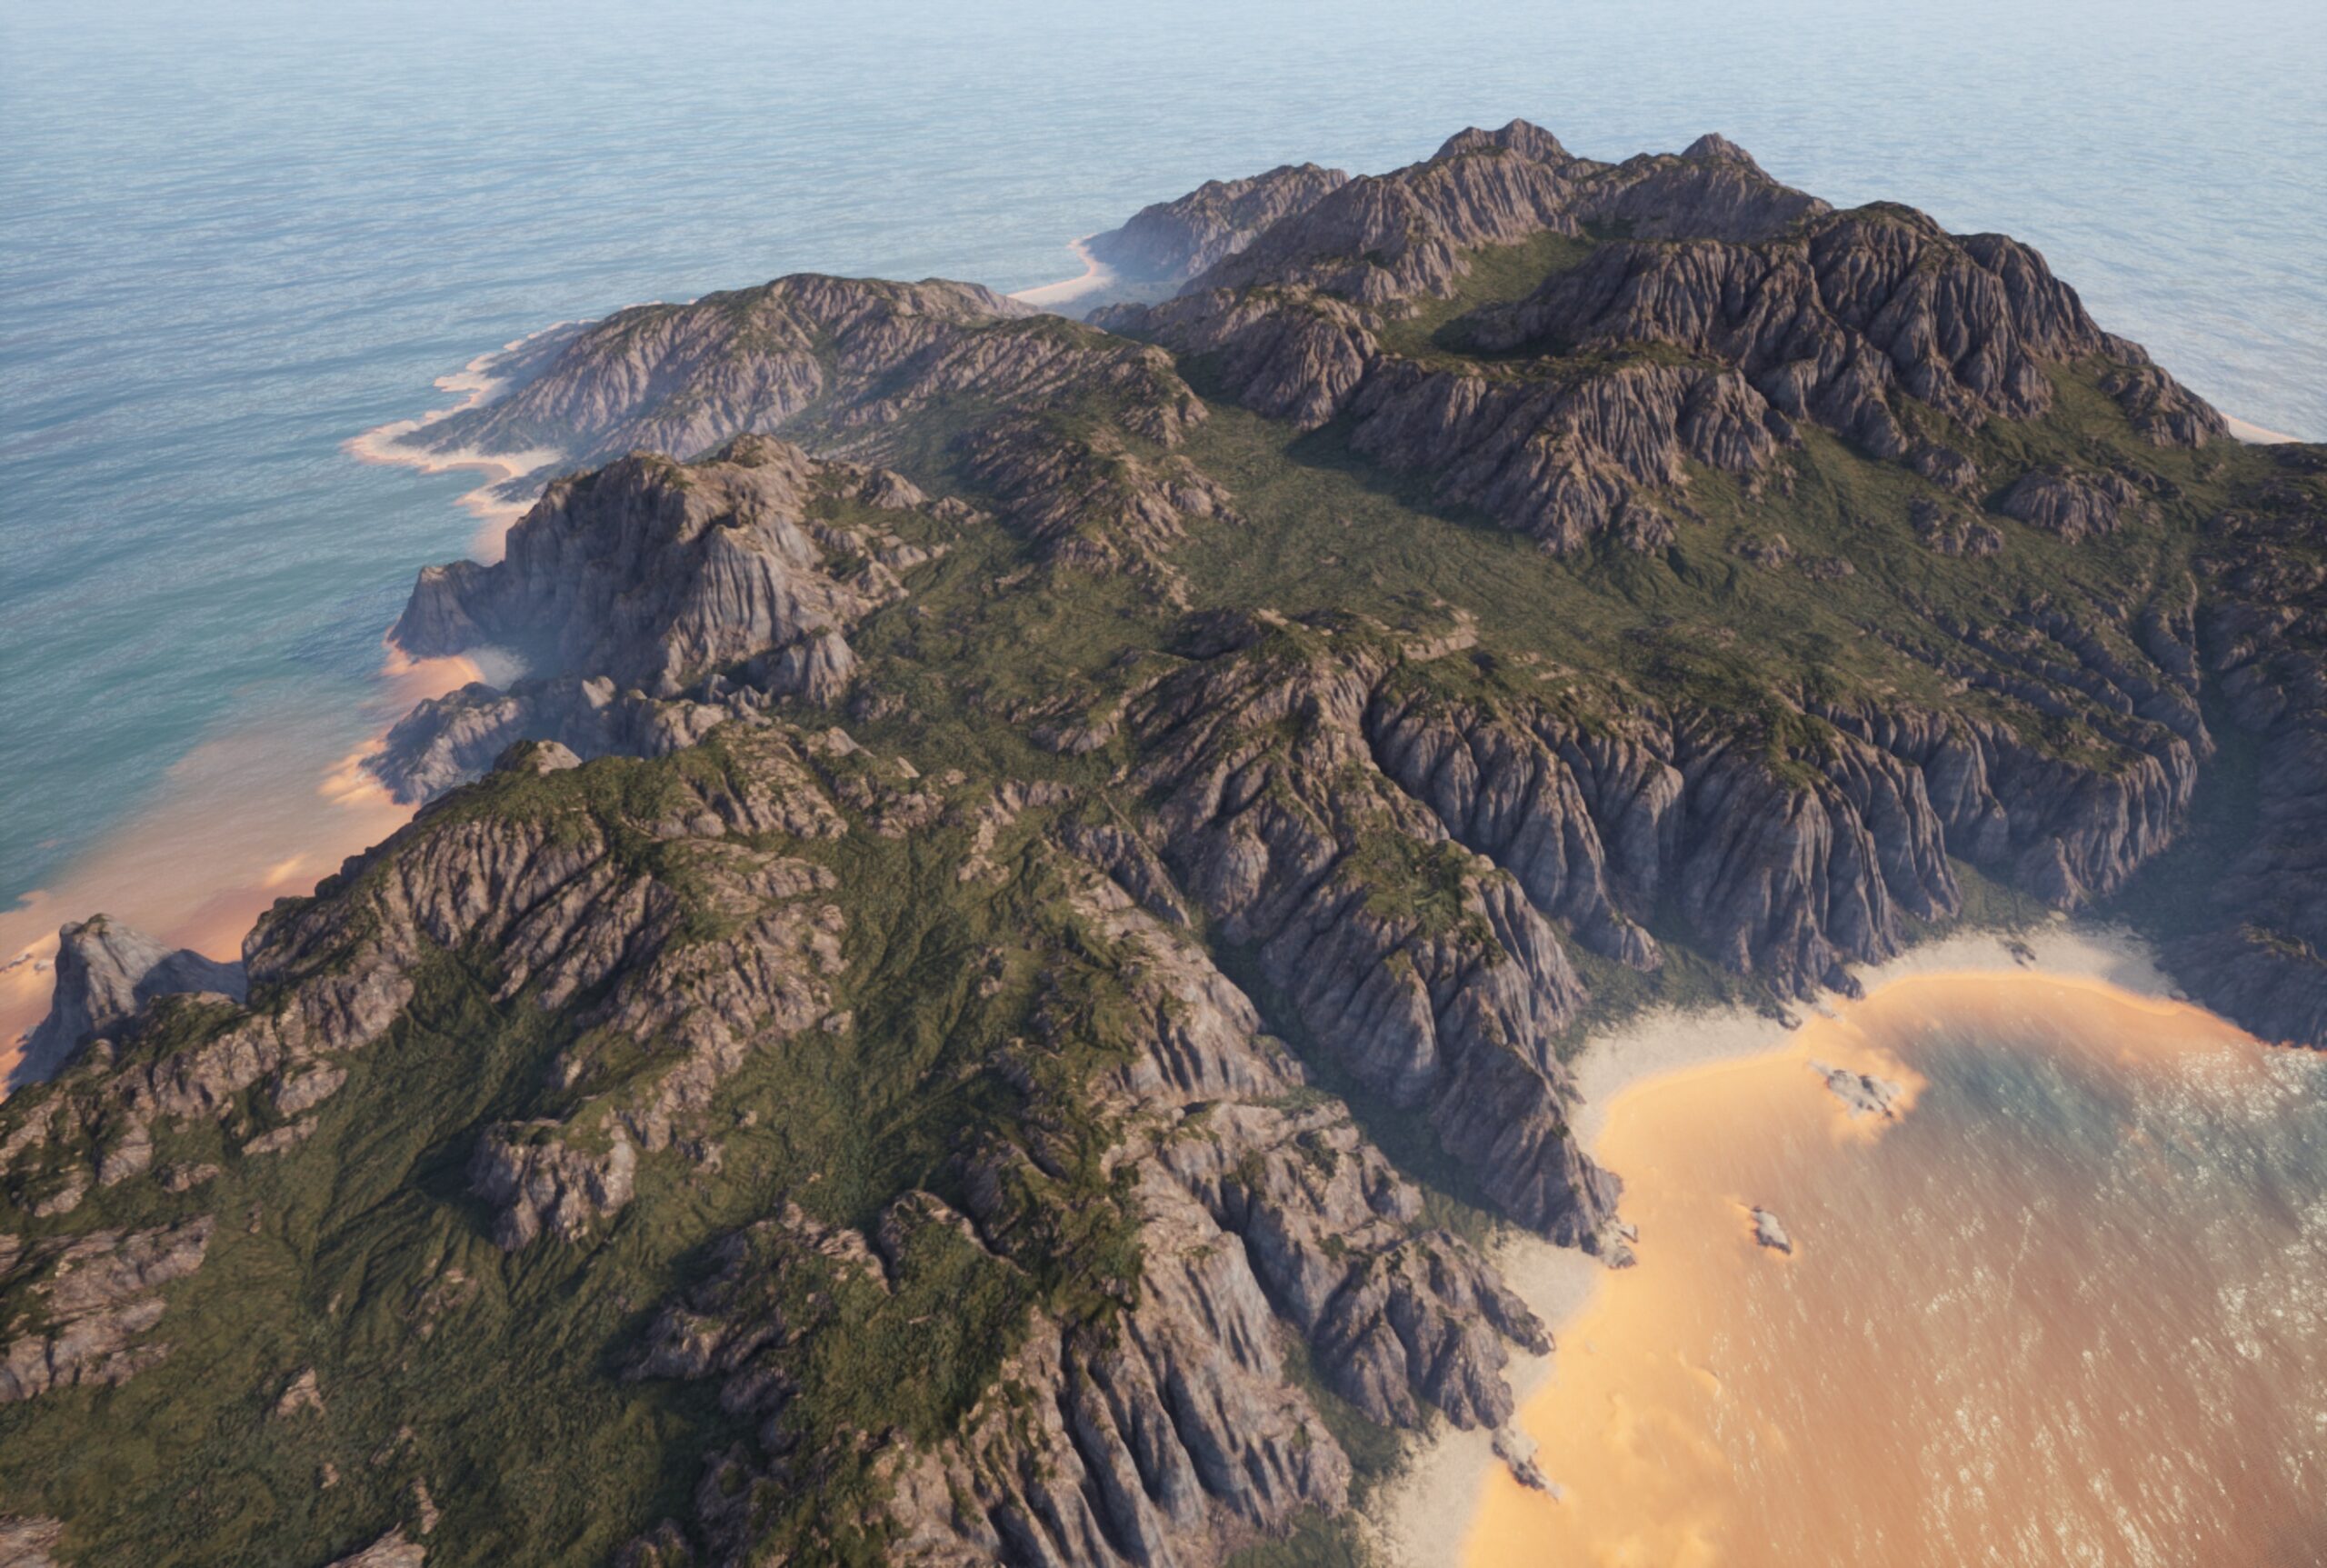
Wet Beach
This is the wet beach area that’s nearest to the shore. Used for shininess on the waterline and to darken underwater texturing.
This layer can also be adjusted on the z-axis, since this is a height based effect for our world.
This effect is also toggled on/off when toggling on/off the beach layer.